It's about time I give something for the community and .. actually release it 
Anyways, this is a tutorial that I though of .. today and just worked on it the past 15 minutes and I'd like to share it with those curious.
Supplies:
3dsmax (or any 3d program)
Photoshop (or anything that supports alpha blurring)
Step 1:
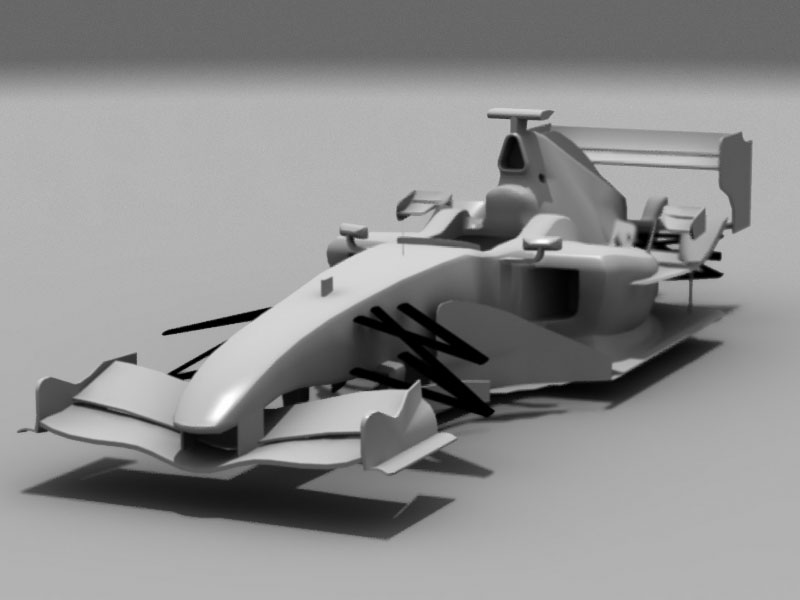
Get a good camera and render your scene!

Step 2:
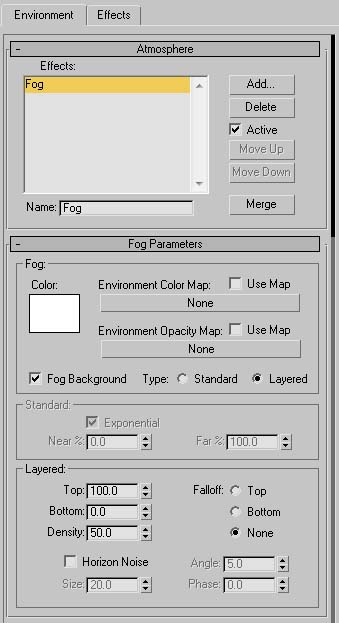
Press "8" to go to environment settings, and near bottom select "add" and select fog.
Depending on the scene, your variables may vary.

Step 3:
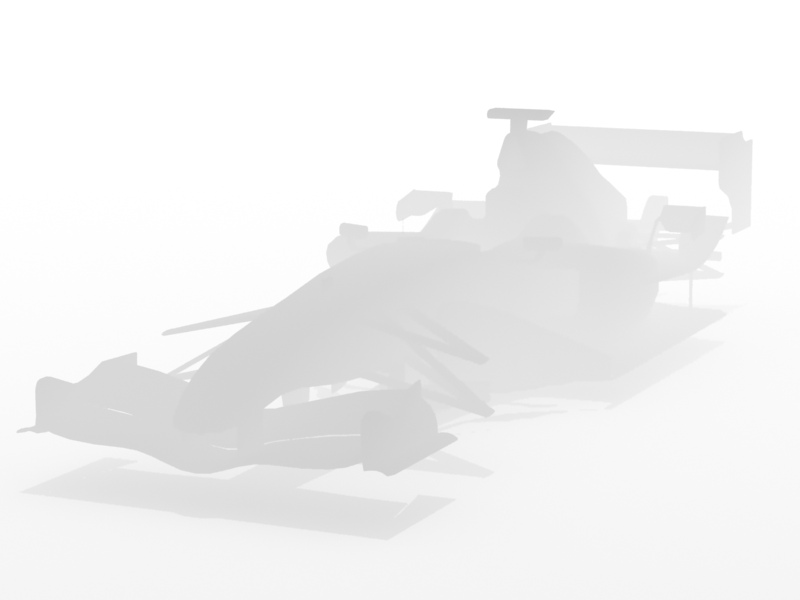
Select all objects, and make a new material, and make it black, and make sure it does not reflect or anything. and render.
(NOTE: When saving, save as a lossless format (PNG or Tiff), so you don't get artifacting in the next step!)

Step 4:
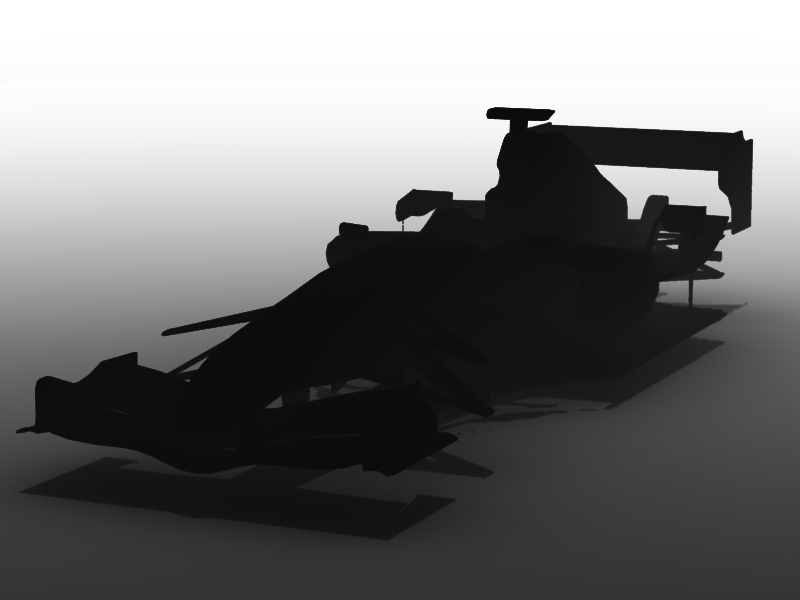
Open the fog render in photoshop and increase the contrast until you get.. well, enough contrast!

Step 5:
Merge the two renders in photoshop using the lens blur feature.
To do this, open both pictures in photoshop, copy the fog render ontop of the first render, click on the eye (to hide it), then next to layers click on "channel", and click on new channel and it should come up as Alpha 1. Paste the fog render into that. Then, go to "Filter" on the top menu, and then "Blur" and then "Lens Blur"

(This of course isn't the greatest show off of what it can do, but I believe you guys will get the idea of how to do this, and might put it to good use.)
Like I said, I know the final picture isn't pretty, but it's the idea, it was used dramatically so you guys will see a difference.

Anyways, this is a tutorial that I though of .. today and just worked on it the past 15 minutes and I'd like to share it with those curious.
Supplies:
3dsmax (or any 3d program)
Photoshop (or anything that supports alpha blurring)
Step 1:
Get a good camera and render your scene!
Step 2:
Press "8" to go to environment settings, and near bottom select "add" and select fog.
Depending on the scene, your variables may vary.
Step 3:
Select all objects, and make a new material, and make it black, and make sure it does not reflect or anything. and render.
(NOTE: When saving, save as a lossless format (PNG or Tiff), so you don't get artifacting in the next step!)
Step 4:
Open the fog render in photoshop and increase the contrast until you get.. well, enough contrast!
Step 5:
Merge the two renders in photoshop using the lens blur feature.
To do this, open both pictures in photoshop, copy the fog render ontop of the first render, click on the eye (to hide it), then next to layers click on "channel", and click on new channel and it should come up as Alpha 1. Paste the fog render into that. Then, go to "Filter" on the top menu, and then "Blur" and then "Lens Blur"
(This of course isn't the greatest show off of what it can do, but I believe you guys will get the idea of how to do this, and might put it to good use.)
Like I said, I know the final picture isn't pretty, but it's the idea, it was used dramatically so you guys will see a difference.
 the below images were done in Modo.
 )
)